Creating a group page is an excellent way to achieve this. Whether you're interested in cars, cooking, or discussing the latest in news and politics, HebrewConnect.com offers a platform to bring your community together. Here's a comprehensive guide to creating an engaging group page on HebrewConnect.com that stands out.
Step 1: Getting Started
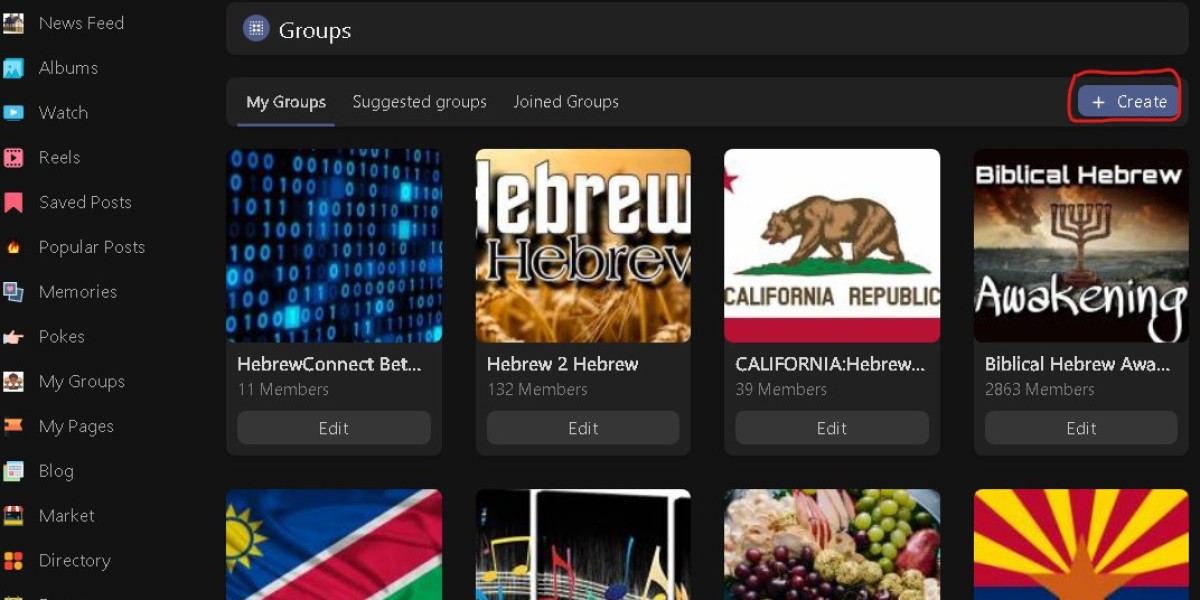
Begin by navigating to the main page of HebrewConnect.com. Once there, you'll find a "Create Button" prominently displayed. This is your gateway to initiating the creation of your new group. Clicking on this button reveals the option to "Create Group," which is your first step towards bringing your group to life.
Step 2: Crafting Your Group's Identity
Upon choosing to create a group, you'll be directed to a page where community starts! Here, you are prompted to fill in several key details that will define your group's identity on HebrewConnect.com and the web at large.
Group Name: This is how your group will be known on the platform. Choose a name that is both descriptive and inviting, as it will be the first thing potential members see.
- Group URL: Think of this as your group's unique address on the web. It should be simple, catchy, and reflective of your group's essence. Remember, the URL must be lower-case, devoid of spaces (though numbers and letters are welcome), and steer clear of special characters. A well-chosen URL not only makes your group easy to find but also enhances its visibility on search engines.
Group Description: This brief overview serves as an introduction to your group's mission and what it offers to members. Be clear and concise, giving potential members a glimpse into the purpose and activities of your group.
- Group Type: Here, you decide on the accessibility of your group. The dropdown tab allows you to select whether your group will be open to the public or accessible only to privately approved and registered members. Choose wisely based on the nature of your group's activities and the level of privacy you desire.
Group Category: With a wide array of categories available on HebrewConnect, finding one that perfectly aligns with your group's focus is crucial. This classification helps potential members find your group more easily, ensuring you attract individuals genuinely interested in your group's theme.
Step 3: Bringing Your Group to Life
After meticulously filling out the details that form your group's backbone, it's time to make it official by hitting the "CREATE BUTTON." This action brings your group page to life, ready to be populated with content.
Step 4: Personalizing Your Group Page
The creation of your group page is just the beginning. Now, you have the opportunity to further personalize it by adding a group logo and cover image. These visual elements are key to making your group stand out and should resonate with the group's theme and purpose. A visually appealing logo and cover image not only attract attention but also help in establishing your group's identity and brand on HebrewConnect.com.
In Conclusion
Creating a group page on HebrewConnect.com is a straightforward process that opens up a world of possibilities for community building and engagement. By following these steps and putting thought into each aspect of your group's online presence, you're well on your way to creating a vibrant, engaging community. Whether you're sharing a hobby, supporting a cause, or discussing topical issues, HebrewConnect.com provides the perfect platform to connect and grow your group.